LG LTE2 F160S,L,K Root And Recovery For Android 4.0ICS & 4.1JB

Root And Recovery Tool All in one For LG Optimus LTE II F160S,L,K
Download Here Root And Recovery Tool
|Root And Recovery Guide|
After Download Above File Follow These Step's
1- First Of All install LG United Mobile Driver |Download Here|
2- Enable USB Debugging From Phone Setting Developer Option
3- After Enabling USB Debugging Attached The Phone With PC Via Data Cable And Select Charging Option.
4- Now Extracted Root And Recovery Tool 
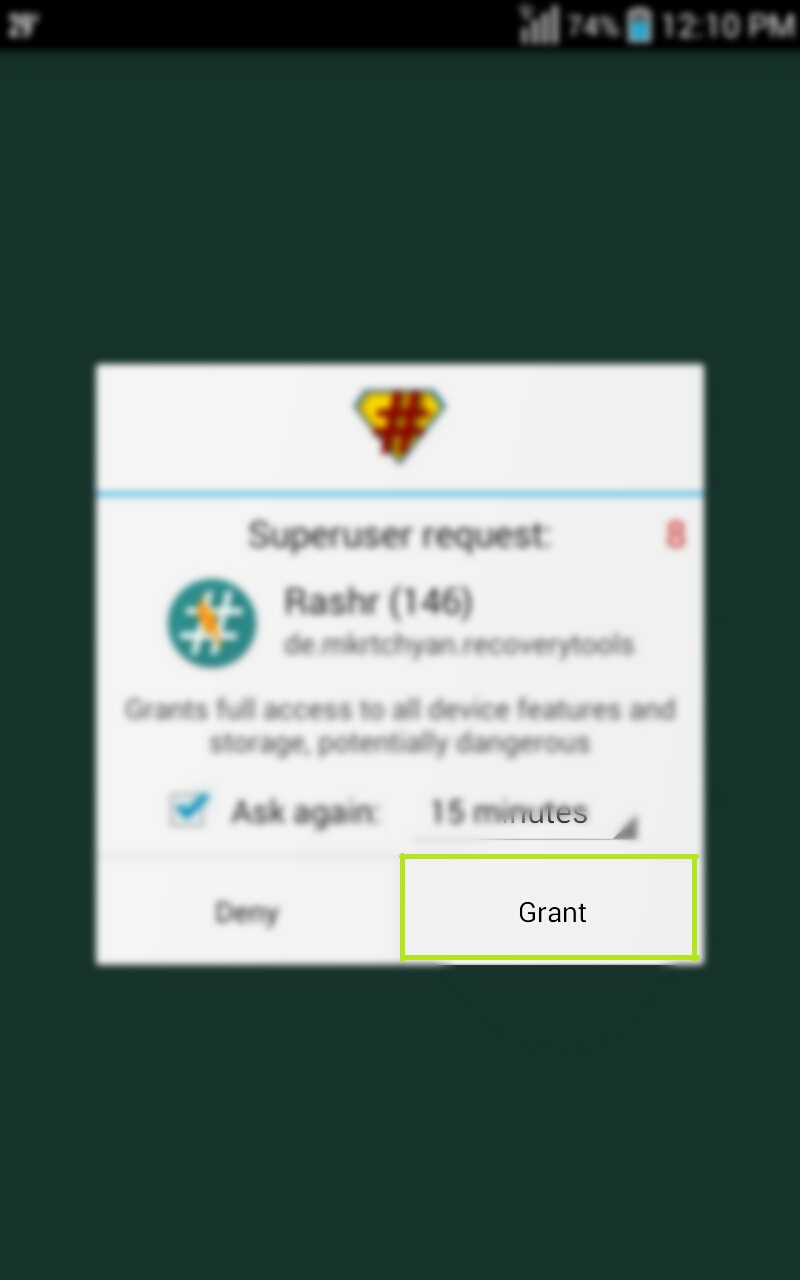
5- Now Open Extracted Folder And Run Root.exe And Follow Instruction
6- When the machine is complete and restart, you will see 2nd-init LTE2 Recovery, in which selected 2nd-init Success Recovery will report, in line next to Recovery Reboot Recovery.
Enjoy :)

LG Optimus G F180S,L,K Root And CWM Recovery For Android 4.4 Kit-Kat

This Root And Recovery Guide Only For 4.4 Kit-Kat Version
Officially Kit-Kat Update Available For LG F180 If You Are Still On JB Then Update On KK
After Flashing Below Recovery Boot-loader Unlocked Automatic 100% 
1-First Of All Install LG USB Driver And LG United Mobile Driver |Download Here|
2-Now Download Root Package |Download Here|
After Download Root Package Extract
3-Now Enable USB Debugging From Developer Setting, Developer Option Not Visible In Normal In 4.4KK How To Visible Developer Option Go to Phone Setting, About And 7 Time Click On Build Number Then Developer Option Visible Go Back And Check

4-After Enabling USB Debugging Attached The The Phone With PC. When You Connect Phone Many Option Appear On Phone Screen Select |LG Software| 
5-Now Open Root Package Extracted Folder And Double Click On Run.bat
6-When You Click On Run.bat After Few Second Your Phone Auto Reboot in Original Recovery |If CMD Black Screen Required Press Any Key Option The Press Enter|
Now Use Volume Up And Down Button For Move Up And Down And Select Update From ADB
And Wait After Completing Process Reboot The Phone..
Now Your Phone Is Rooted
Note:- After Rooting Download Root Checker From Play Store And Check Root Access
After Rooting The Phone Follow These Steps For Install Custom recovery |CWM|
1- Download Recovery Package |Download Here| 
After Download Extract It
2- Once Again Connect Your Phone With PC On USB Debugging
Once Again Select LG Software
3- Open Recovery Extracted Folder And Run F180 Recovery.bat
And Wait After Flashing Recovery Your Phone Auto Reboot In Custom recovery
Note: If Your Are using F180S Then Run F180S recovery.bat If Using K The Run F180K Recovery


How To Root And Install Recovery On Sony Xperia Z1 Japan |Au SOL23, Docomo SO-01F| 4.4KK & 5.0

Root And TWRP Latest Recovery For Xperia Z1
Tools You Needed For Root & Recovery
-----------------------------------------------------------------
Sony USB Driver |Download Here|
TWRP Recovery |Download Here|
SuperSu.Zip |Download Here|
-----------------------------------------------------------------
After Download All Above Files Just Follow These Step's
1- Install USB Driver In-to Computer  And Copy SuperSu.Zip File Into Phone Memory Or SD
2- Now Go-to Mobile Setting Select About Phone Option Then 7 Time Click On Build Number
Now Developer option Appear In Your Setting Go back in Setting And Enable USB Debugging
From Developer Option.. Also Enable Unknown Sources From Security Setting
3- After Enabling Attached The Phone With PC Via Data Cable
4- Now Extract Recovery Package Folder And Run Install.bat From Extracted Folder
Now Select Number 3 And Press Enter |Your Phone Auto Reboot In Custom recovery|
|
When TWRP Recovery Successfully Appear On Mobile Then Disconnected Data Cable
Now See Custom Recovery.. Click On Install Option And Find SuperSu.zip And Flash it Trough This Custom recovery.. Then Wipe Cache Then Wipe Dalvike Then Reboot The Phone
Enjoy Now Your Phone Is Rooted And Successfully Installed Custom recovery
-----------------------------------------------------------------
If You Feel Any Problem So Please Tell Us Under The Post in Comment Section
Share our Blog With Friends If It Deserve it

SpaceX Custom Rom For Galaxy Note 3 SM-N900S,L,K Fix Everything. Smooth. With S6 Interface

SpaceX Lollipop Rom For Galaxy Note 3 SM-N900S,L,K |Korean|
Fix Everything In This Rom
 ● SpaceX Rom Base On Latest Stock Lollipop Rom Of Galaxy Note 3
-------------------------------------------------------------------
ROM Information
Build In .Tar.MD5 AS Stock Rom |Flash Trough Odin|
Remove Unwanted Korean Apps
Enhance Message Limitation ,Increased system performance
Support build.prop, Optimize, clean but eliminate unnecessary app

Add audio pin button calls, fast exit button in the browser
On transfer news Report
Added option to mute switch photography
Add Vietnamese Calendar (lunar)
Add install block SMS / call (block messages / calls)
Mod turn bright screen when a new message
Fix false time and send message
Backup - restore message
Removing my magazine (My Magazine)


Download SpaceX Lollipop Rom  SM-N900K


Download SpaceX Lollipop Rom  SM-N900S

-------------------------------------------------------------------
|Installation Guide|
Just Follow These Step's After Download The Rom

1- First Of All Install Samsung USB Driver In Computer |Download Here|
2- Then Power Off The Phone And Putt On Download Mode By Pressing These Buttons
|Power + Home + Volume Down| Then Press Volume Up

3- When Download Mode Appear Like Image Then Attached The Phone With PC And Run Odin
4- After Ruining Odin Extract The Rom Zip Folder And Load .Tar.MD5 File In AP Section From Extracted Folder  Like Image
5- Finally Click On Start Button And Wait

|Custom Rom| Lollipop For Galaxy Note 3 SM-N900L | S | K Stability 99% Stock Base Rom


Ultimate Final V-1 Lollipop Rom For Note-3
Stock Base Rom Note 4 UI

  • Supported All Versions S | L | K Of Note 3
  • Fully Note 4 Interface
  • Fully Fixed Rom Like International 
  • Most Stable Version For Note 3 Korean
  • Don't Forget:- Flash This Rom On Lollipop Background | If Your Phone Already Updated On Stock Lollipop Then Flash This Rom | :)
  • Build This Rom On Latest Stock Lollipop Rom Of SM-N900
  • Rom In .Tar.MD5 Format Up Trough Odin
  • Remove All Korean Application, Remove Knox
  • Added SuperSu, Busybox Pro
  • Fix Message You Can Type Longest SMS Like In International Version
  • Fix USSD Code Issue
  • Enhance Battery Timing, And Giving You Good Stability
  • If you Are S & K version User So Installing Method Very Simple For You Follow These Steps
  • Download Above Given Package. Above Given Package In .Tar Format So Don't Extract
  • After Downloading Rom Download USB Driver And Odin Flash-Tool
  • Now Install USB Driver Then Extract Odin Flash-Tool And Then Run Odin.Exe 
  • Now Click On AP Section In Odin And Load Rom.Tar File 
  • Now Attached The Phone With PC Via Data Cable And Wait Until Status Appear In ID:Com Port Like Image.
  • Now Finally Click On Start Button And Wait.
For L Version
  •  Download Above Given Package After Downloading Package Extract It Via Winrar
  • After Extracting Giving These Files In Extracted Folder Look Image
  • Now Install Samsung USB Driver Download Link Above. Also Download Odin Flash-Tool
  • Now Extract Odin Flash Tool  And Run Odin.Exe From Extracted Folder
  • Now Click On AP Section In Odin And Load AP_N900L File
  • Now Click ON BL Section And Load BL_N900L File
  • Now Click On CP Section And Load CP_N900L File
  • Now Click On CSC Section And Load CSC_LGT_N900L File
  • And Now Finally Attached Your Phone With PC Via Data Cable And Wait 
  • When Attaching Status Showing IN ID:Com Port Then Click ON Start Button And Wait  
Note:-
        If Your Phone Is Already Updated On Stock Lollipop Rom then You Can Flash this Rom
If Your Phone Is Not Updated On Stock Lollipop So please Update Fist Then Flash This Rom 
Stock Lollipop Rom Also Available
Screen Shot:-


How To Root And Install Custom Recovery On galaxy A7 A700H & A700FD |4.4/5.0|

|Root And TWRP Recovery For Galaxy A7 A700H & A700FD|
---------------------------------------------------------------------------------------
Download Recovery TWRP Latest 2.8.6
Download Latest SuperSu.Zip From Chain-fire
---------------------------------------------------------------------------------------
|Installation Guide|
|Tools You Needed For This Operation|
SUMSUNG USB Driver |Download Here|
Odin Flash Tool V3.0 |Downlaod Here|
---------------------------------------------------------------------------------------
After Download All Above Files Follow These Steps
1- First Off All Install SAMSUNG USB Driver And Then Copy SuperSu.Zip Into Phone Or Memory
2- Now Completely Power Off the Phone And Putt Phone On Download Mode By Pressing Buttons.
|Power + Home + Volume Down| Then Press Volume Up 
3- When Download Mode Successfully Appear Like Image Then Run Odin.exe And Attached The Phone With PC Via Data Cable And Wait Blue Com Port Appear
4- When Phone Successfully Connected Then Load .Tar File In Odin AP Section Like Image
5- And Check Boxes Like Image Just Tick on Two Boxes |F.Reset Time| & |Auto Reboot|
6- Finally Click On Start Button And Wait Your Phone Auto Reboot After Completing
When Phone Is On Then Again Power Off And Press These Buttons For Recovery
|Power + Home + Volume up|
|Root Guide|
When Custom Recovery Successfully Appear Like Image
Then Click On Install And Find SuperSu.Zip And Flash it Trough This Recovery 
---------------------------------------------------------------------------------------
Now Your Phone Is Rooted And Installed Custom Recovery Successfully Enjoy 
Don't Forget To Say Thanks Please Join Us On Google+ And Facebook


Sky Vega 860S,L,K Root And CWM Recovery For Jellybean 4.1.2 |Tested||Without PC|

Root And Recovery For Sky Vega IM-A860L,S,K For Jellybean
Just Follow These Step's For Rooting
1- Download Framaroot.Apk And Install it Into Phone
2- After Installing Framaroot.Apk Open it And Click On Last Gandalf Option
After Click on Gandalf Option Restart The Phone And After Restarting, Open Menu And Check SuperSu App If It Appear Mean Your Phone Is Rooted
Also Download Root Checker App From Play-Store And Check Root Access
After Rooting Install CWM Recovery
Download CWM Recovery Package For Sky 860L,S,K
In This recovery Package Two Files One 860.IMG And Second is Recovery.Apk
After Download Recovery Package Extract This Folder And Copy Both File IMG And APK Into Phone And Install Recovery.Apk
After Installing Recovery Apk Open it |When You Open Recovery Tool After Installing It Give Root Access Simply Click On Grant Option 
Now Click On  Flash Recovery Like Image
Now Click On Other From Storage
When You Click On Other From Storage Then File manager Open Find .IMG File And Click On it
Now Your Phone Successfully Installed CWM recovery Enjoy

How Root And Install TWRP Recovery On Noir Z8 & Z8 Plus

Root And TWRP Recovery For Q-Mobiles Noir Z8 And Z8 Plus
|Just Follow These Step's For Rooting|
1- First Of All Install Your Q-Mobiles USB Driver In-to Computer
2- After Installing USB Driver Go to Mobiles Setting And Enable USB Debugging 
In Normal Developer Option not Available in Setting Go to About And Quickly 7 Time Touch On Build Number Then Go Back And See Developer Option Now Visible

3- After Enabling USB Debugging Attached The Phone With PC Via Data Cable
4- Now Download Root Package |Download Here|
|After Download Root Package Extract It On Desktop or Any Place In Computer|
5- Now Open Extracted Folder And Double Click |Root Wiko Ridge.BAT|
Press Any Key To Continue
6- Follow On Screen Instruction And Your Phone Will Reboot Auto After Rebooting You Have Rooted Mobiles Open Menu And See Superuser App
Now Go-to Play-store And Download Root Checker App And Check Root Access


Follow These Steps For Installing Recovery After Rooting The Phone
----------------------------------------------------------------------------------------------------
Download TWRP Recovery For Q-Mobile Noir Z8
Download TWRP Recovery For Q-Mobile Noir Z8 Plus
----------------------------------------------------------------------------------------------------
1- After Download Recovery Extract Recovery Folder And Copy Recovery.IMG File In to Phone
2- After Copy Recovery.IMG File In To Phone Go to Play-Store And Install Rasher App
3- After Installation Complete Open Rasher |When You Open Rasher It Check Root Access And Give Permission Simply Click On Grant Option| Like Image
After Grant Click On Recovery From Storage |When You Click On Recovery From Storage Your File Manager Open| Now Find Recovery.IMG File And Click On it
Now Your Phone Is Rooted And Install Custom Recovery Successfully
--------------------------------------------------------------------------------------------------- 
Note: Many Recovery.IMG Flashing Tool Available At Play-Stor Like Flashify, And Rasher
If Rasher Don't Work On Your Phone So Flash Recovery.RecoveryIMG Trough Flashify

Subscribe Us On Youtube

Subscribe Us On Youtube